Ribble's basic bike maintenance tips
If you are about to dust off the best bike and head out this weekend, we thoroughly advise that you first treat it to a little TLC. Get your bike in top shape for your next adventure with our basic bike maintenance tips.
Anyone who is fortunate enough to own more than one bike will no doubt have had their Sunday best bike in hibernation throughout the depths of winter. Therefore, it's only natural that it will require a modicum of elbow grease to make it roadworthy once again. Our basic bike maintenance guide explores the key areas that you should pay particular attention to ensure that your bike performs its best on its maiden post-hibernation ride.
The list may look a little daunting but is actually fairly easy to accomplish for even the most ham-fisted of mechanics. It's well worth the effort though, a well-maintained bike is so much smoother, faster, and much more enjoyable to ride!
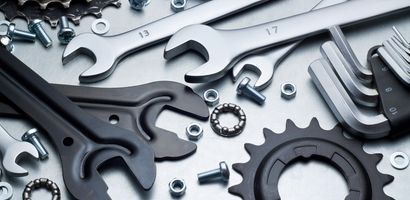
Recommended tools
We aren't saying that you should invest in all of the tools that you could reasonably expect to find in the average bike workshop. However, there are certain tools that are essential to basic bike maintenance and investing in them now could save you money in the long run. After all, who wants the extra cost of replacing prematurely worn parts that could have been avoided if well-maintained?

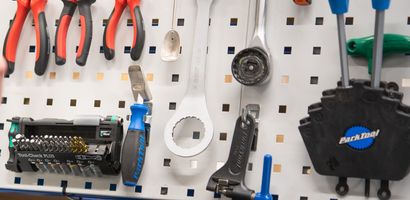
A multi-tool like that pictured above is essential for every ride, ideally look for one with a range of Allen keys, Phillips head screwdriver and a Chain tool.
- Track / Floor Pump - Every cyclist needs a floor pump! Mini pumps / CO2 pumps are ideal when out and about, but a floor pump is an essential piece of kit. (Especially if you don't want arms like popeye from continually inflating your tyres using a mini pump).
- Allen (hex) Keys - Multi-tools are sufficient for roadside repairs but a full set of workshop Allen keys is a fairly cheap investment. They provide the extra leverage that is sometimes required to loosen uncooperative bolts.
- Torque Wrench - Always ensure that all bolts are tightened to the manufacturer's recommended torque setting.
- Chain Wear Checker - It does exactly what it says (see image below). A worn chain has a domino effect on the wear of associated components. Failure to swap a worn chain could result in premature wear of the chainrings and cassette.
- Pedal Spanner - Depending upon the type of pedal, a pedal spanner provides the extra leverage you need to remove pedals and makes fitting them easier. Please note, however, that some models can only be fitted with an Allen key. Check the end of the axle to see if it has accepts an Allen key. If not, there will be a hexagonal nut located just wheere the axle enters the body of the pedal.
- Assembly Grease - We use this in the workshop when assembling our bikes, enough said!
- Carbon Fibre Grip - If you have 2 carbon components that are clamped together then you cannot use the aforementioned assembly grease. A prime example would be a carbon frame with a carbon seat post. Fibre grip improves the friction between carbon components to prevent creaking and prevent carbon slippage.
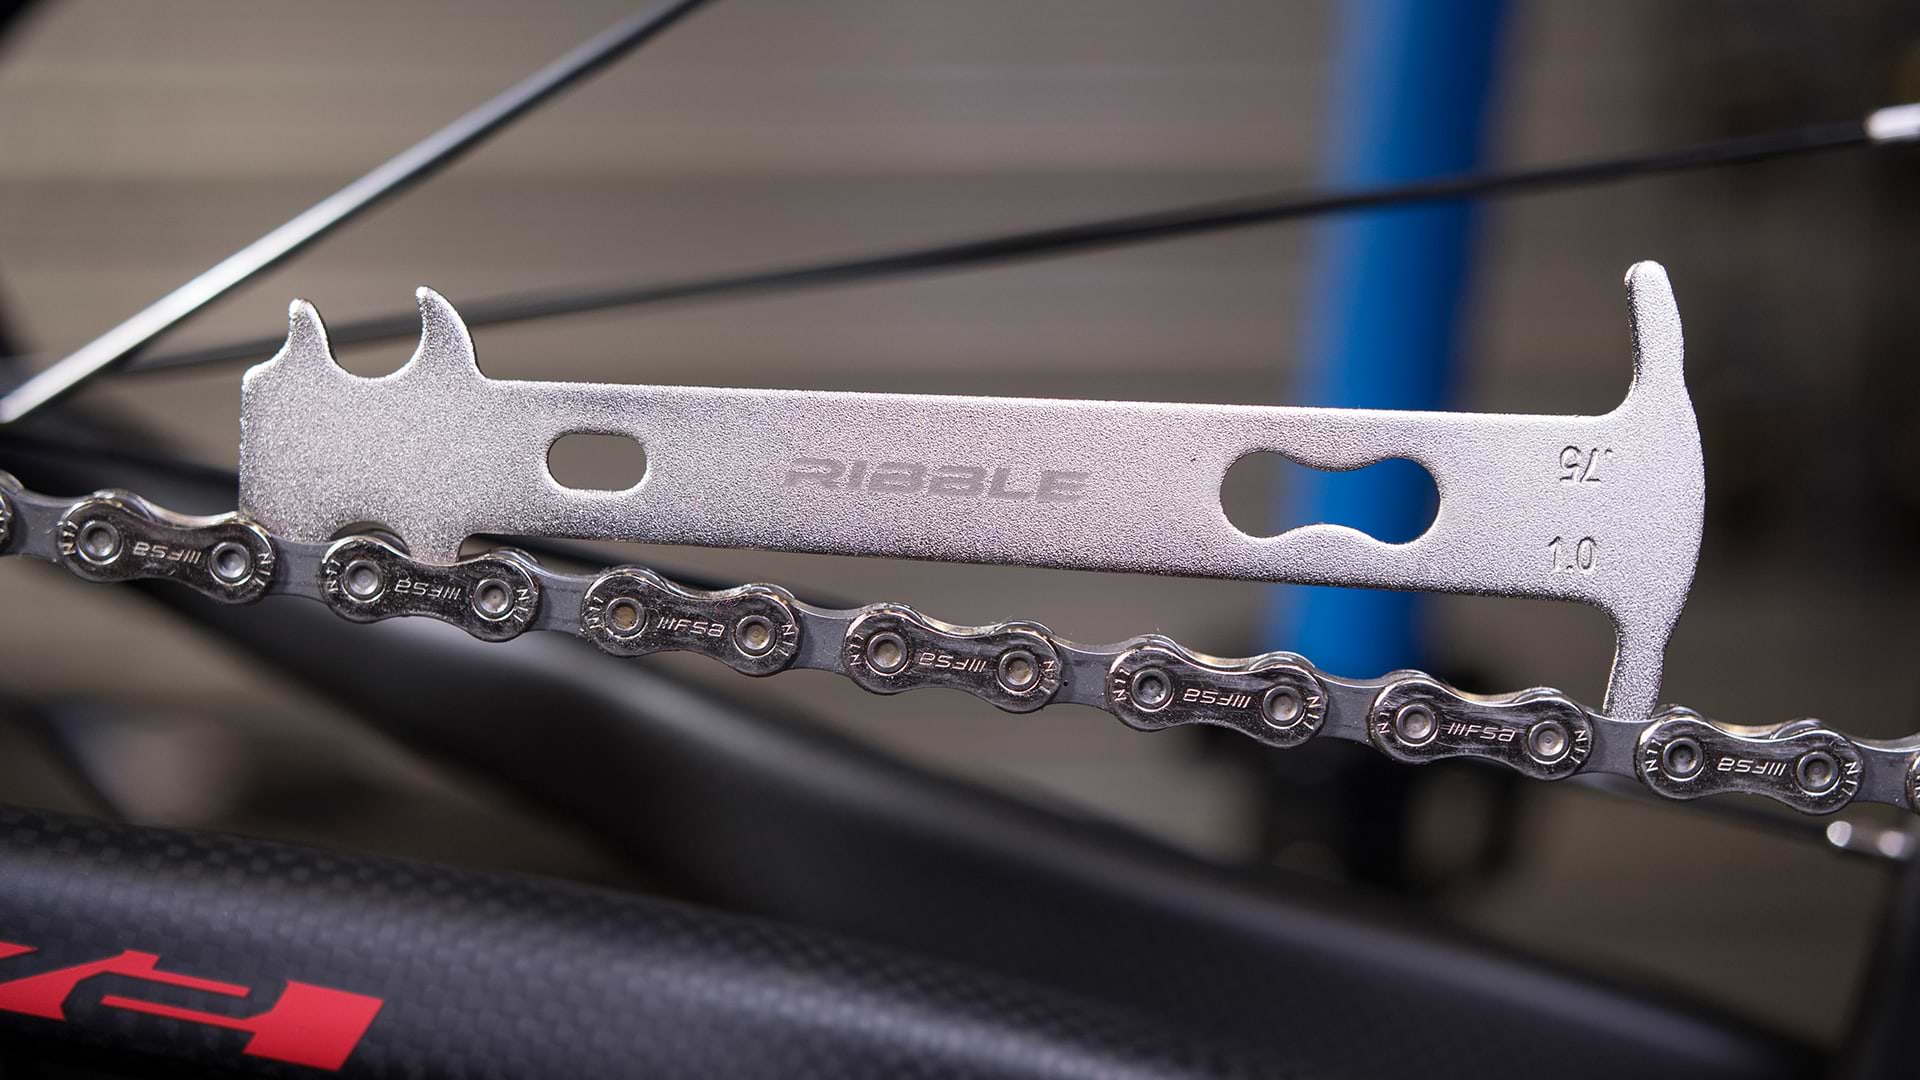
A chain checker is used to measure how much the chain has stretched. A worn chain causes premature wear of the rest of the drivetrain and can snap when underload.
Safety Checks
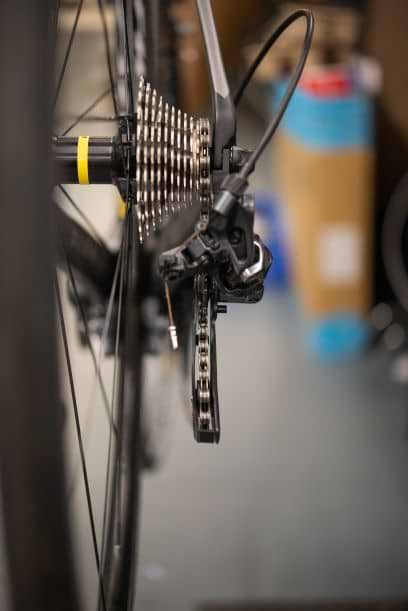
Checking the gears are correctly aligned is essential to keeping them running smoothly and efficiently. The top jockey wheel should align perfectly with the cassette sprocket.
There are specific checks that should be carried out before heading out on a ride. These ensure that the bike will run smoothly as well as improve the quality of the ride.
- Brake pads - Most makes of rim brake pads will have wear indicators printed on them, check that the block still has life left in it. If the grooves are no longer visible then the block needs replacing. Run your finger carefully along the inside of the pads to ensure that there is no flint or stone lodged which can score your wheel rim. If in doubt replace them, they cost very little and it takes a few minutes to swap them out. Similarly, if using disc brakes check them during routine maintenance to ensure that they measure at least 1mm.
- Gears / Gear Hanger - The rear derailleur cage should be perfectly aligned with the sprocket on the cassette (see image above). The gear hanger that attaches the derailleur to the frame should also be straight. Otherwise, this will affect the gear shifts. A bent derailleur hanger that goes undiagnosed is liable to snap under load and can cause catastrophic damage to your chain and spokes. You should notice this as a rubbing noise when the chain rubs on the sprockets.
- Bolts - All bolts should be checked to make sure that they are tightened to the correct torque. If you do not already own one, you should purchase a torque wrench. They cost as little as £30 and are a worthy investment. Special attention needs to be paid to the handlebar and stem bolts which should normally be tightened to 5-6Nm. The torque figures are typically printed on the handlebars and/or stem.
- Tyre pressure - This is largely determined by rider weight and how you like the bike to ride. Heavier riders need to run tyres at a higher pressure than lighter riders, this offers a faster ride but you feel more road vibrations. Running tyres at lower pressures improves comfort and grip but can feel a little slower depending upon the tyre type.
- Pressure range - You should always maintain the pressure range that is indciated on the tyres sidewall (see image below). NEVER RIDE THE BIKE WITH THE TYRES BELOW THE MINIMUM STATED PSI. This is both unsafe and can cause the carcass to crack. Similarly avoid overinflation as this coul dcause the tyres sidewall to tear with dramatic results.
- If you ride infrequently, always remember to check the tyre pressure before each ride. An easy way to check the pressure is to attach a floor pump and push down on the handle. The needle of the dial will travel round to the current pressure within the tyre.
- Top Tip - When storing the bike for any period of time, ensure that it is hung up where possible. If it is left on the floor for any length of time, pump up the tyres from time to time to ensure it is not below the minimum recommended PSI. Doing so will prevent the sidewalls of the tyre from cracking.
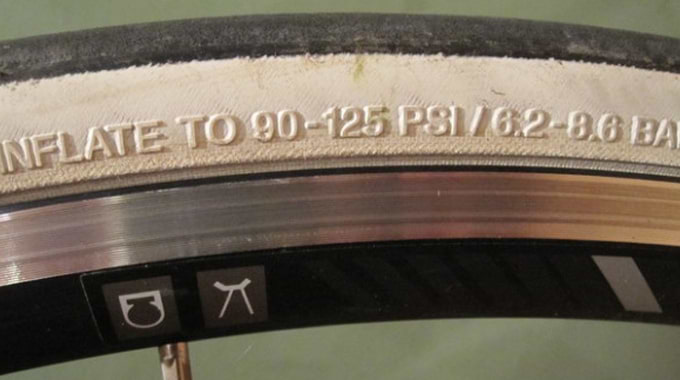
All tyres have the minimum and maximum tyre pressures marked on the sidewall
Grease and Lubrication
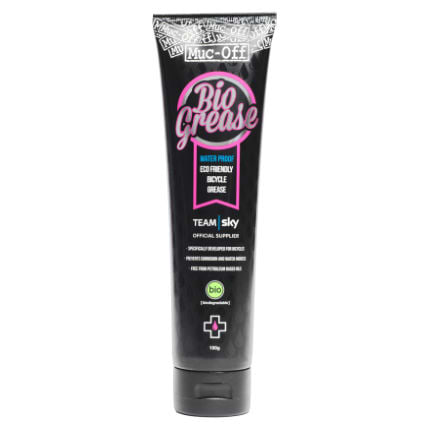
A good quality grease weatherproofs bearings and prevents the dreaded creak!
If the bike has been stored in a garage or shed over the winter, it is often subjected to cold and damp conditions. This can have a detrimental effect on performance. Certain parts need to be greased and lubricated before you take the bike out for a spin.
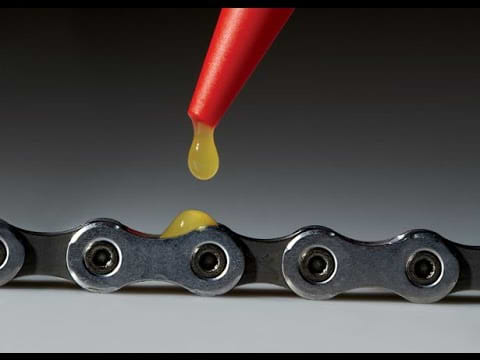
A clean and well-lubricated chain works more efficiently and reduces chainring, cassette and rear derailleur wear.
- Headset - A simple but crucial task is greasing the headset. There are many 'how to' videos on YouTube to help you accomplish this. Remove the headset, liberally coat the bearings with grease and re-assemble. This will prevent corrosion of the bearings as well as weatherproofing the headset.
- Pedals - The number one cause of clicks/creaks on a new bike is the pedals. Failure to apply grease to the axles when fitting them to the crank arms WILL cause them to creak. Be careful when reftting pedals as its easy to cross thread them. Screw the axles in a few turns by hand to ensure that they are correctly threaded before using a pedal spanner or Allen key.
- Drivetrain - In particular, the chain, cassette, and pulley wheels (jockey wheels) of the rear derailleur. For the bike to run smoothly these items should be cleaned and lubricated. Jockey wheels, in particular, tend to get overlooked and a build-up of road grime reduces their effectiveness. Use a chain bath filled with degreaser to clean the chain and then apply lube. Or use a 2 in 1 cleaner like Rock 'n' Roll lube that both cleans and lubricates the chain. Nothing beats the deep clean of a chain bath though.
- Seatpost - Another all too common issue is a seat post that has seized into the frame. During routine maintenance its good practice to remove the seat post. Even if it is only to remove it and place it back in the frame. If it is an alloy post/alloy frame, re-apply grease when required. For an alloy post/carbon frame or carbon/carbon combinations apply carbon fibre grip.
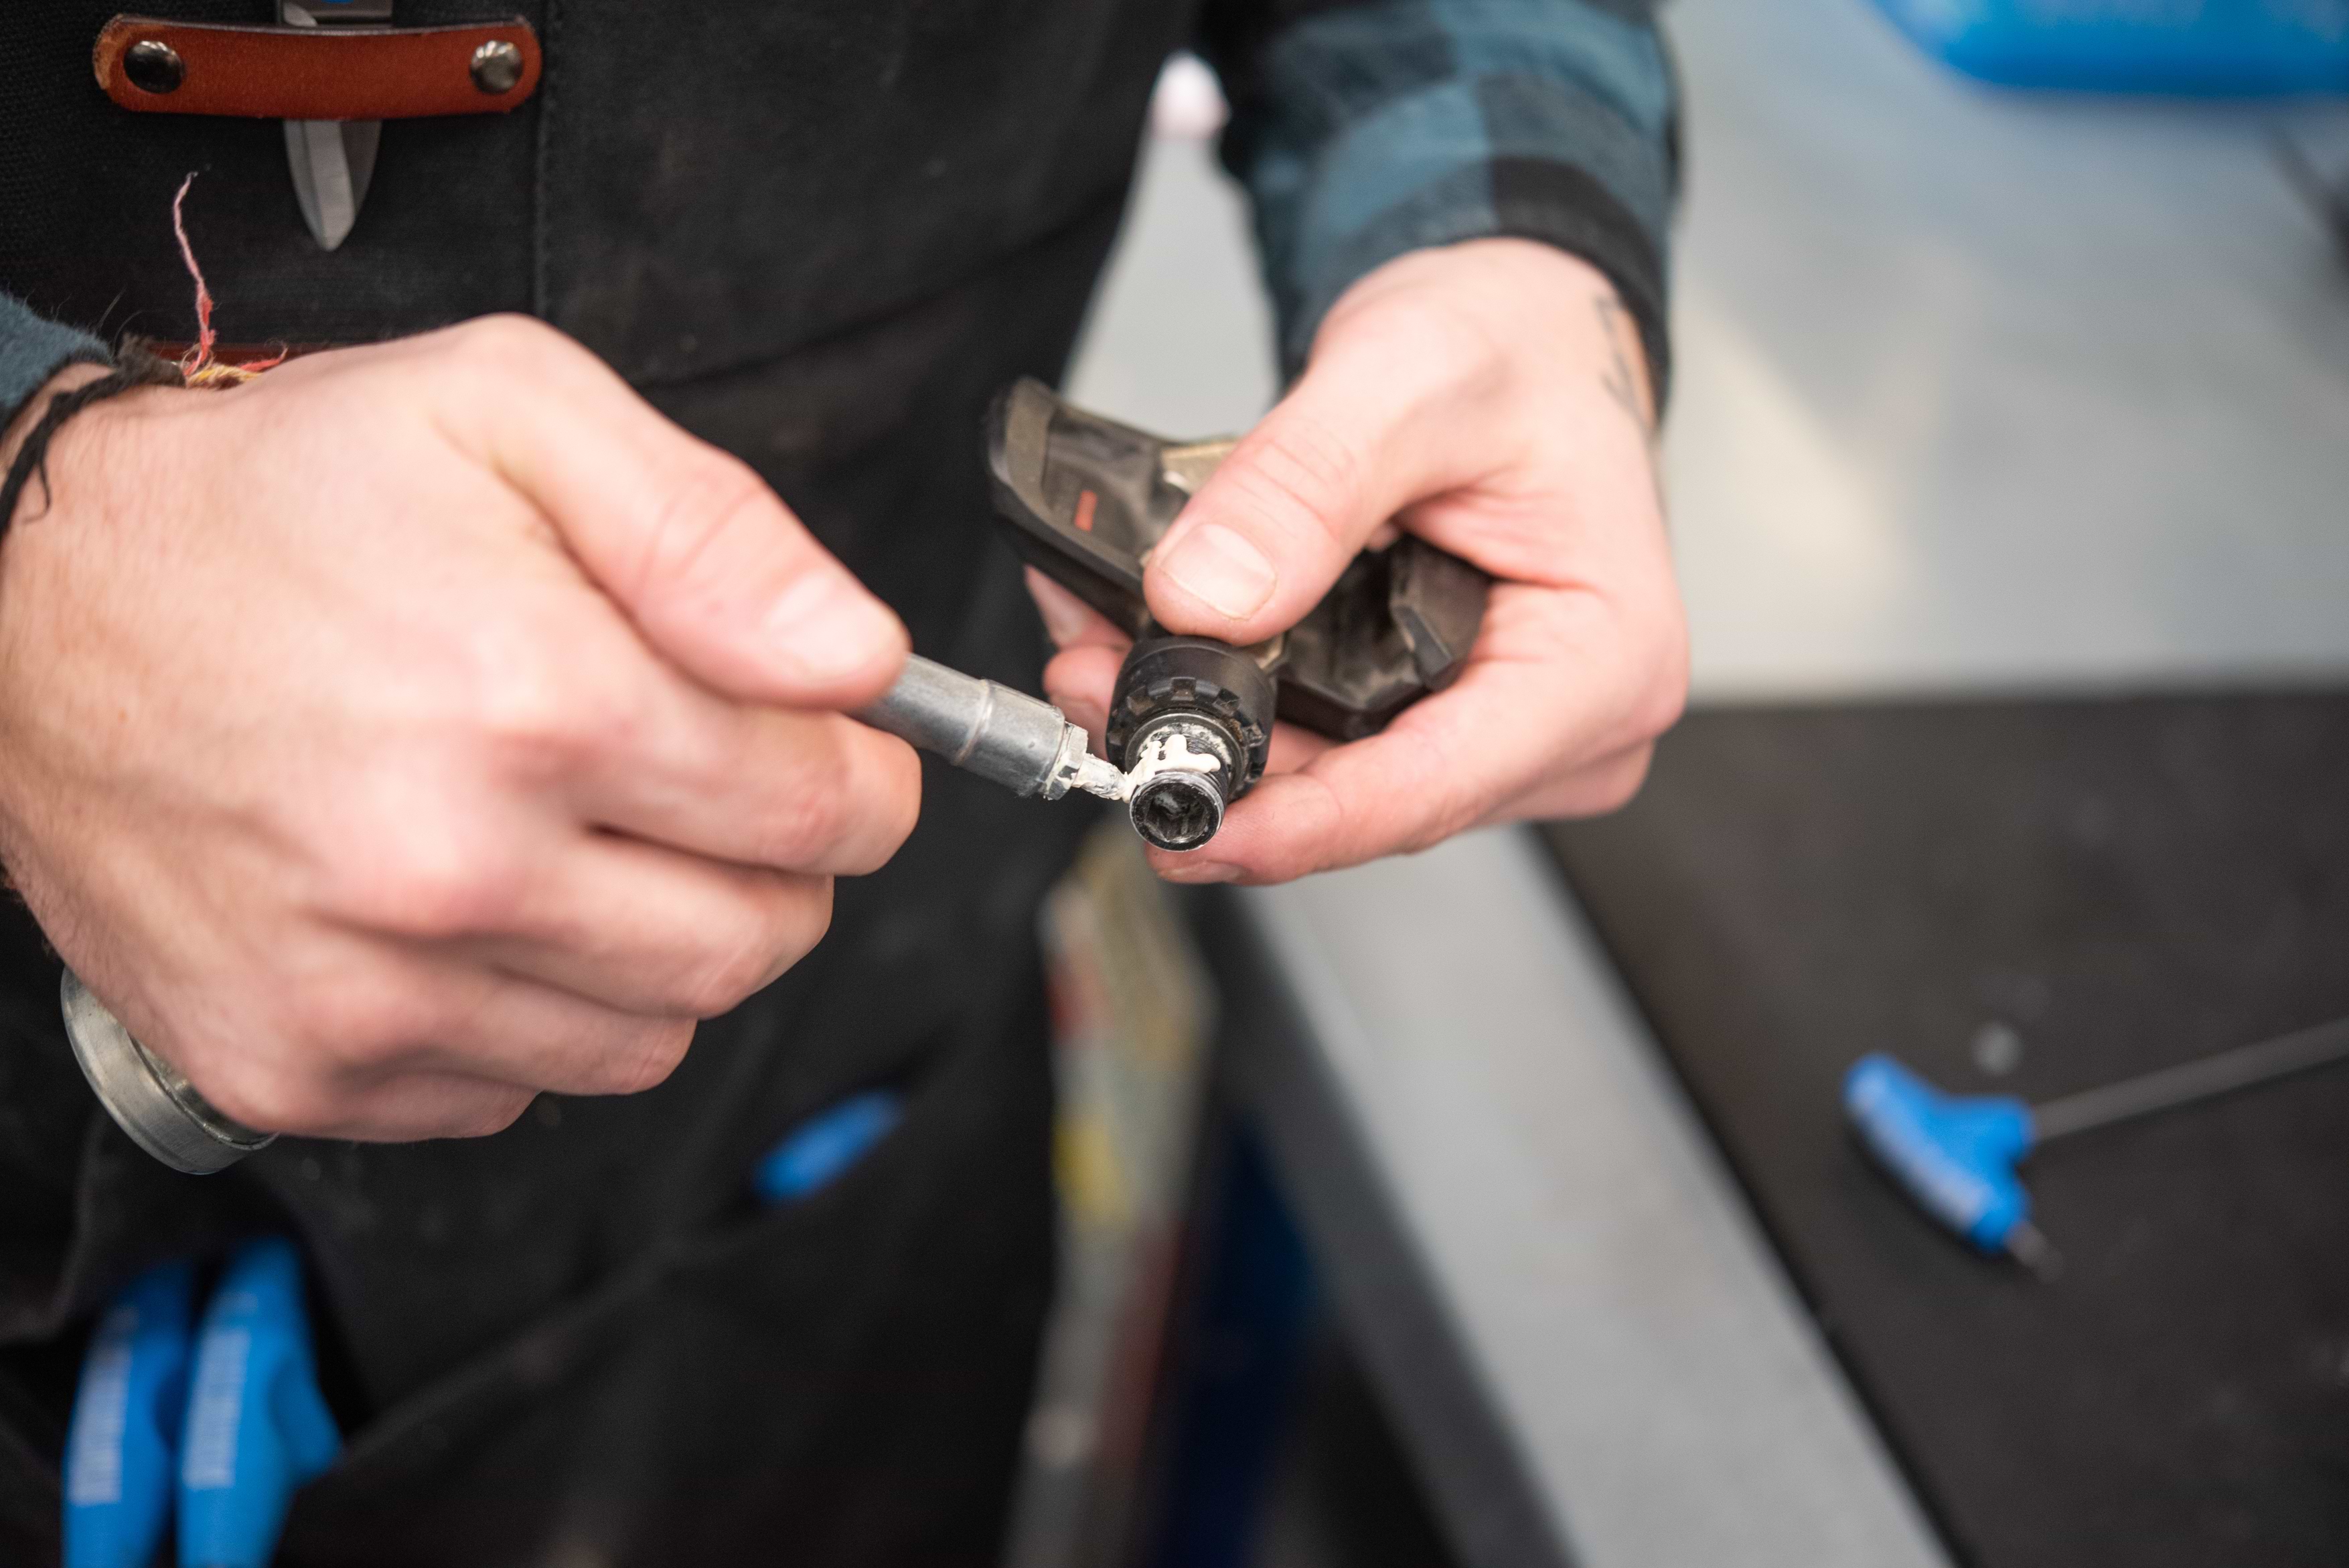
Well-greased pedal axles dramatically reduce the risk of a creak, re-apply grease during routine maintenance.
We hope you found the tips above helpful. We don't expect you to perform them on a weekly basis. However, we do recommend that you perform such checks more frequently if you use the bike regularly. If you only use the bike infrequently then quarterly or half-yearly maintenance overhauls should suffice. If you don't get out too often, focus on the minimum basics of keeping the chain well-lubed, the brakes work correctly, all bolts are tight and the tyre pressures are within the prescribed range.
Planning to commute to work/class by bike? Check out the top tips from Ribble staffers and Pro riders.
Upgrading your wheels is the biggest performance upgrade that you could ever make to your bike. Find out more here.
Ribble's basic bike maintenance tips
If you are about to dust off the best bike and head out this weekend, we thoroughly advise that you first treat it to a little TLC. Get your bike in top shape for your next adventure with our basic bike maintenance tips.
How to solve creaking bikes - A Ribble Guide
Creaks and clicks have tortured cyclists since time immemorial. They are the bugbear of all cyclists and pop up at the most inopportune moments. Normally when you're miles from home and have no choice but to suck it up and endure the annoyance until you return home. Find out how to solve creaking bikes in our latest how-to guide.